Chapter 07: Astro photography
Astrophotography is one of the most rewarding genres in photography, blending science, patience, and creativity to reveal the hidden beauty of the universe. Whether you are aiming to capture the Milky Way, stars, planets, or deep sky objects, the right equipment and preparation make all the difference.
This chapter walks you through the basics: what gear you need, how to deal with light pollution, and what to think about before heading out under the stars. You do not need a telescope to get started, but you do need gear that handles low light and long exposures well.
Astrophotography often requires more postprocessing than regular photography.
1. Camera
DSLR or mirrorless with manual controls and RAW shooting
Good lowlight performance. APSC or fullframe sensors are preferred.
Examples: Pentax K-3 III, Canon EOS R, Nikon Z6, Sony A7 series
2. Lens
Wide angle lens (14–35mm) with fast aperture (f/2.8 or faster)
Popular choices: Samyang 14mm f/2.8, Pentax DA* 11–18mm f/2.8
3. Tripod
Sturdy and stable and is essential for long exposures.
Avoid lightweight travel tripods unless it is well anchored. The column you mount the camera on when using a tripod often has a hook underneath where you can attach a bag or other weight. This increases the overall weight of the tripod and makes it more stable when you take photos.
4. Remote Shutter or Intervalometer
Prevents camera shake
Enables long exposures and timelapse sequenceslapse sequences
5. Star Tracker (Optional but powerful)
Motorized mount that follows the stars
Allows longer exposures without star trails
Examples: iOptron SkyTracker, Sky-Watcher Star Adventurer
Use of telescope
If you are serious about astro photography, you should definitely go for a telescope that you can attach the camera body to. For attaching a camera, you need a T-mount adapter that’s specific for your brand. A Tmount (also called Tadapter or Tring) is a standardized 42 mm threaded connection used in astrophotography. It acts as the “middle piece” between your telescope and your camera body. A telescope gives you focal lengths that ordinary camera lenses simply can’t match. Even a small refractor can offer the equivalent of a 400–600 mm lens, while larger reflectors easily reach 1000–2000 mm and beyond. This lets you capture lunar craters with razorsharp detail, planetary features like Jupiter’s bands or Saturn’s rings or small deepsky objects (DSO) such as planetary nebulae or distant galaxies. It’s the difference between “there is a smudge” and “there’s the Whirlpool Galaxy’s spiral arms.”
A telescope’s aperture is designed to collect as much light as possible. More light means that there is a better signaltonoise ratio. This means shorter exposure times, the ability to capture faint nebulae and galaxies and cleaner, more detailed images. Even a modest 80 mm refractor gathers far more light than typical camera lenses of similar focal length.
Camera lenses are generalists; telescopes are specialists. Astrooptimized optics offer minimal chromatic aberration, flat fields (especially with flatteners/reducers), high contrast and excellent performance at infinity focus.
Telescopes pair naturally with equatorial mounts, which is where astrophotography really comes alive. With proper tracking, you can take long exposures without star trails, capture faint deep space objects that require minutes of integration and use autoguiding for subarcsecond precision. A telescope + mount becomes a true imaging system, not just a camera pointed upward.
Unlike camera lenses, telescopes are part of a modular ecosystem that lets your ad functionality.
Light pollution is the biggest challenge for astrophotographers in urban areas. It is unwanted artificial light from human activity that brightens the night sky and reduces the contrast needed to photograph faint astronomical objects. For astrophotographers, it acts like a permanent “glow” in the sky that washes out stars, nebulae, and the Milky Way. Astrophotographers often use the Bortle Scale, which ranks sky darkness from:
Bortle 1 – pristine, dark, perfect for Milky Way and deepsky
Bortle 9 – inner city, only the brightest stars visible
For best pictures travel to dark locations to avoid light pollution. Use tools like lightpollutionmap.info to check up light pollution. Shoot during new moon: avoid moonlight washing out the sky. I have not used this yet, but you may use light pollution filters to reduce light pollution. In postprocessing use stacking and gradient removal tools to clean up the imageprocessing.
How to reduce light pollution
Travel to a Bortle 1–4 area
Shoot during new moon
Use a light pollution filter. Both Optolong, Kase and Hoya produces this.
Stack multiple exposures
Use gradient removal tools in postprocessingprocessing
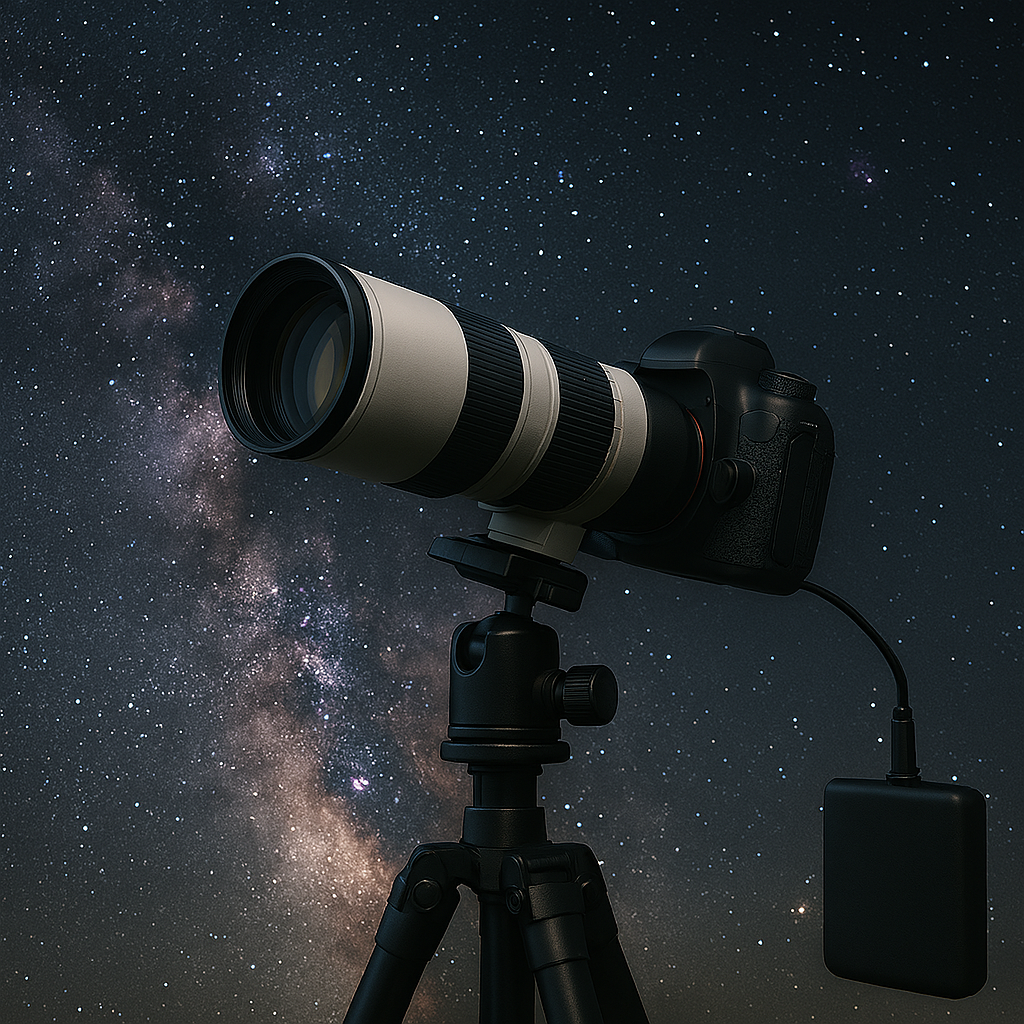
Sometimes you may need to take pictures where exposure time that lasts for hours. A portable power bank keeps camera, tracker, and accessories running during this time. A power banks is more recommended than extra batteries when it comes to astro photography.
It is also handy do use a weather app check for clear skies and low humidity. Stellarium, PhotoPills and Sky Guide are popular apps for locating constellations, planets, and displaying the Milky Way position.
Recommended software
DeepSkyStacker (free) – for stacking multiple exposures
Sequator (free) – great for Milky Way shots
Adobe Lightroom / Adobe Photoshop – for final colour and contrast
Siril – advanced stacking and calibration
Basic workflow
Shoot multiple exposures (10–50 frames)
Stack them to reduce noise and enhance detail
Adjust contrast, white balance, and clarity
Remove gradients and light pollution
Export and back up your final image
On my page for useful links I have linked to several YouTube channels that describes both equipment and how to edit the pictures you have taken.
Recommended starter kit for astrophotography:
Category
Recommended Gear
Camera
DSLR or mirrorless with manual controls
Lens
Wide-angle f/2.8 or faster
Tripod
Solid and stable
Remote
Wired or wireless shutter release
Star Tracker
Optional for longer exposures
Filters
Light pollution filter (optional)
Accessories
Headlamp, dew heater, power bank
Software
DeepSkyStacker, Lightroom, Photoshop
Pentax and astro photography
So far, I have not mentioned specific brands, but astro photography is one of the fields where Pentax actually has some unique strengths that other brands do not match. Pentax cameras have a surprisingly strong reputation among astrophotographers, especially for widefield Milky Way shots and tracked long exposures. Thanks to features like astrotracer, weather sealed bodies, and excellent high ISO performance, they’re very capable tools for night sky work. But there are also some limitations you should be aware of.
Astrotracer is Pentax’s unique builtin startracking system. Instead of moving the whole camera on a motorized mount, the camera house “connects” the GPS and the inbody image stabilization (IBIS) mechanism to physically move the sensor, so it follows the motion of the stars. This allows longer exposures without star trails, even on a normal tripod. Pentax has introduced a new version of Astrotracer for Pentax K-3 III that works without a GPS unit, using the camera’s sensor to measure star movement directly.
On certain camera bodies Pentax has a function called Astrophoto assist. Astrophoto Assist is a premium, paid software feature. It adds three astrophotographyspecific tools that make focusing, capturing, and processing nightsky images easier. It is unlocked via a QRcode activation and requires the latest firmware. The three functions inside Astrophoto Assist are:
Star AF, which improves autofocus on stars. This is the headline feature. Star AF uses the camera’s autofocus system to automatically focus on stars, something normal AF systems cannot do. Key points are:
You can compose first, then let the camera focus on the stars.
Works only in Live View.
Requires an autofocus lens.
Needs a stable tripod because AF takes longer than usual.
May struggle in bright, lightpolluted areas or with very faint stars.
Remote control focusses fine adjustment. This lets you finetune focus without touching the camera, using the Pentax ORC1 remote. Why it matters:
Prevents vibrations during critical focusing.
Useful in astrophotography, macro, or cold environments where touching the lens is difficult.
Works only with autofocus lenses.
Astrophoto Image Processing.
This is an incamera processing tool designed specifically for astrophotography images. It allows you to:
Apply astrospecific processing directly in the camera
Improve star visibility and contrast
Reduce the need for external software for basic adjustments
The Astrophoto Assist is available for Pentax K1, Pentax K1 Mark II, Pentax K3 Mark III and Pentax K3 Mark III monochrome.
What Makes Pentax Good for astrophotography?
1. Astrotracer is a built-in star tracking system in Pentax cameras. This is Pentax’s secret weapon. Astrotracer uses:
The camera’s GPS
The in-body image stabilization (IBIS) physically moves the sensor and follow the stars across the sky.
The magnetic compass and accelerometers
What this means in practice
You can take longer exposures (30–120 seconds) without star trails. Star trails are long, curved streaks of light that appear in a photograph when you take a longexposure image of the night sky. They show the apparent motion of stars as the Earth rotates.
You don’t need an external star tracker or equatorial mount
Works with any lens, like wide angle, telephoto, or even vintage glass.
Recommended Pentax Cameras for astro photography:
Crop camera, but Pentax also has full frame cameras that are mentioned later.
Excellent high ISO performance
Can be used without the astrotracer OGPS1 accessory but works better with it.
Very accurate Astrotracer (Type 3)
Fast, bright optical viewfinder
Great for both widefield and telephoto astrofield and telephoto astro.
Pentax K-1 / Pentax K-1 II
Full frame sensor which gives more light, wider field of view
Build-in GPS
Astrotracer built-inin feature
Superb dynamic range
Popular among landscape astrophotographers
Pentax K70 / KP70 / KP
Affordable and very capable
Good high ISO performance
Astrotracer via OGPS1 accessory.
To get the most put of astrotracer you should do this:
1. Calibration is essential. You must perform the “calibration dance” (tilting/rotating the camera) for accurate tracking. Poor calibration = star trails.
2. Tracking accuracy decreases with longer focal lengths
Wide lenses (14–35mm): excellent
Medium telephoto (50–135mm): good
Long telephoto (200–300mm+): challenging
Deep sky with 400mm+ lenses: not ideal without a real star trackersky
400mm+ lenses: not ideal without a real star tracker
3. Tracking time is limited.
Depending on focal length and sky position, you may only get:
30–60 seconds at 50mm
10–20 seconds at 200mm
2–5 minutes at 14–24mm
4. Light pollution still affects results. Astrotracer doesn’t fix skyglow — you still need dark skies.
Some wide angle lenses that are recommended for Pentax and astro photography are the Pentax DA* 11–18mm f/2.8 and Pentax DFA 15–30mm f/2.8. Samyang / Rokinon 14mm f/2.8 is a popular third-party choice.
2025 introduced good smart telescopes. A smart telescope is essentially a telescope that does all the hard astrophotography work for you. Instead of knobs, alignment routines, cables, and software juggling, it bundles everything into one automated unit you control from your phone or tablet. A smart telescope combines a telescope, a camera, a tracking mount, a computer and imageprocessing software into one selfcontained device that automatically finds objects, focuses, tracks, and stacks images for you. The manufacturer also includes an app that lets you control it from a phone or tablet.