Chapter 05: Editing images and workflow
If you have any plans on doing more than point and shoot you may find this chapter handy as it walks you through the basics of editing setups, the most common software options, and the importance of building a workflow that’s simple, consistent, and reliable.
How to choose your editing setup and why your workflow matters more than you think.
Photo editing is where your images truly come to life. Whether you’re using a tablet on the couch, a MacBook at a café, or a full desktop workstation at home, the tools you choose and the way you organize your workflow will shape both the quality of your results and how enjoyable the process feels.
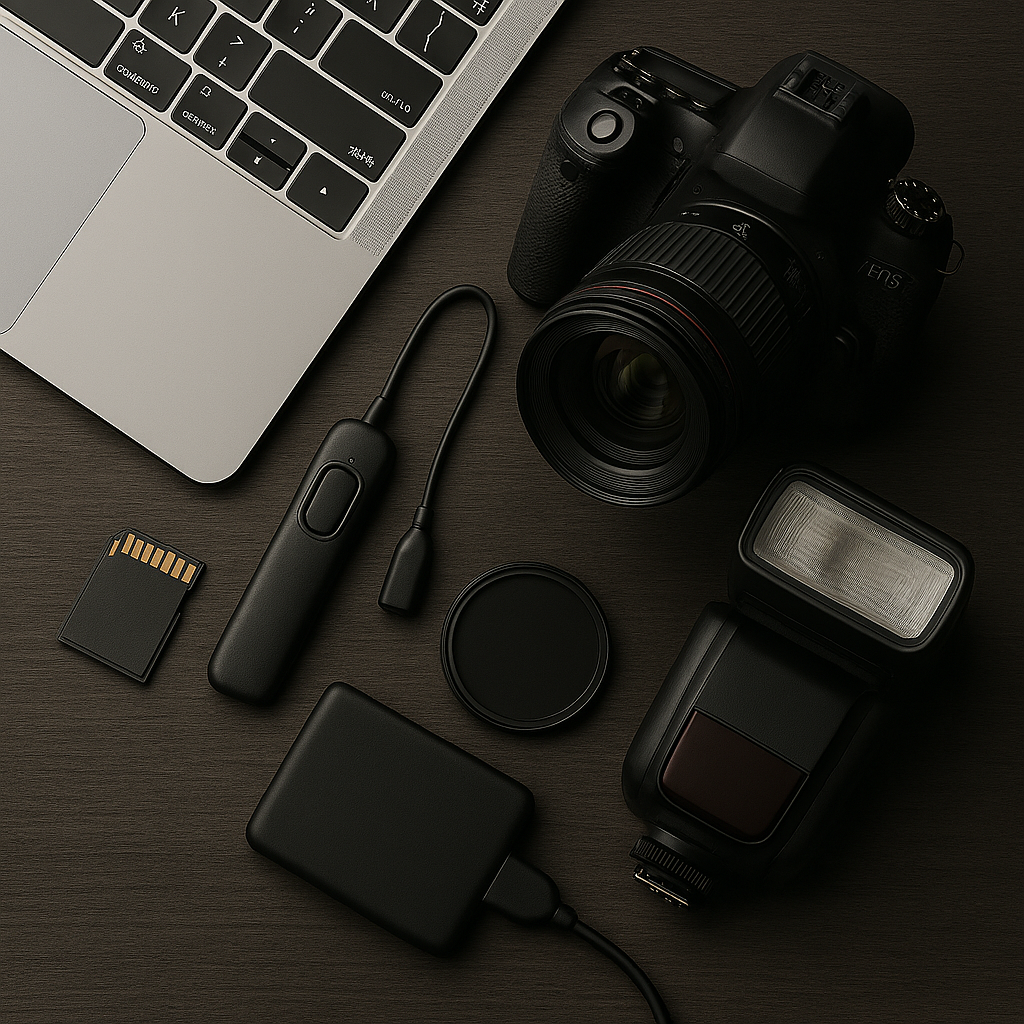
Modern cameras produce huge files. A rugged SSD lets you back up in the field, transfer files quickly, and protect your work from card failures.
You have several options for copying your images from your memory card to your computer or tablet. Memory card reader is an obvious choice. You can copy images directly from your camera to tablet / computer / Mac using an USB-wire, but this is normally painfully slow compared to using a memory card reader.
I normally recommend you taking pictures in RAW file format. Shooting in RAW is one of the most important upgrades you can make to your photography workflow. It gives you more data, more flexibility, and far better image quality when editing. A RAW file stores the unprocessed sensor data—often 12bit or 14bit. A JPEG is only 8bit. This means you lose lots of information. RAW files also preserve highlights and shadows that JPEG simply throws away. RAW files are never changed. Your edits are stored as instructions, not baked into the file. JPEG degraders every time it is saved.
In addition, RAW lets you change white balance after shooting with zero quality loss.
JPEG bakes the white balance into the file permanently. I could keep in giving examples, but I think you got the idea.